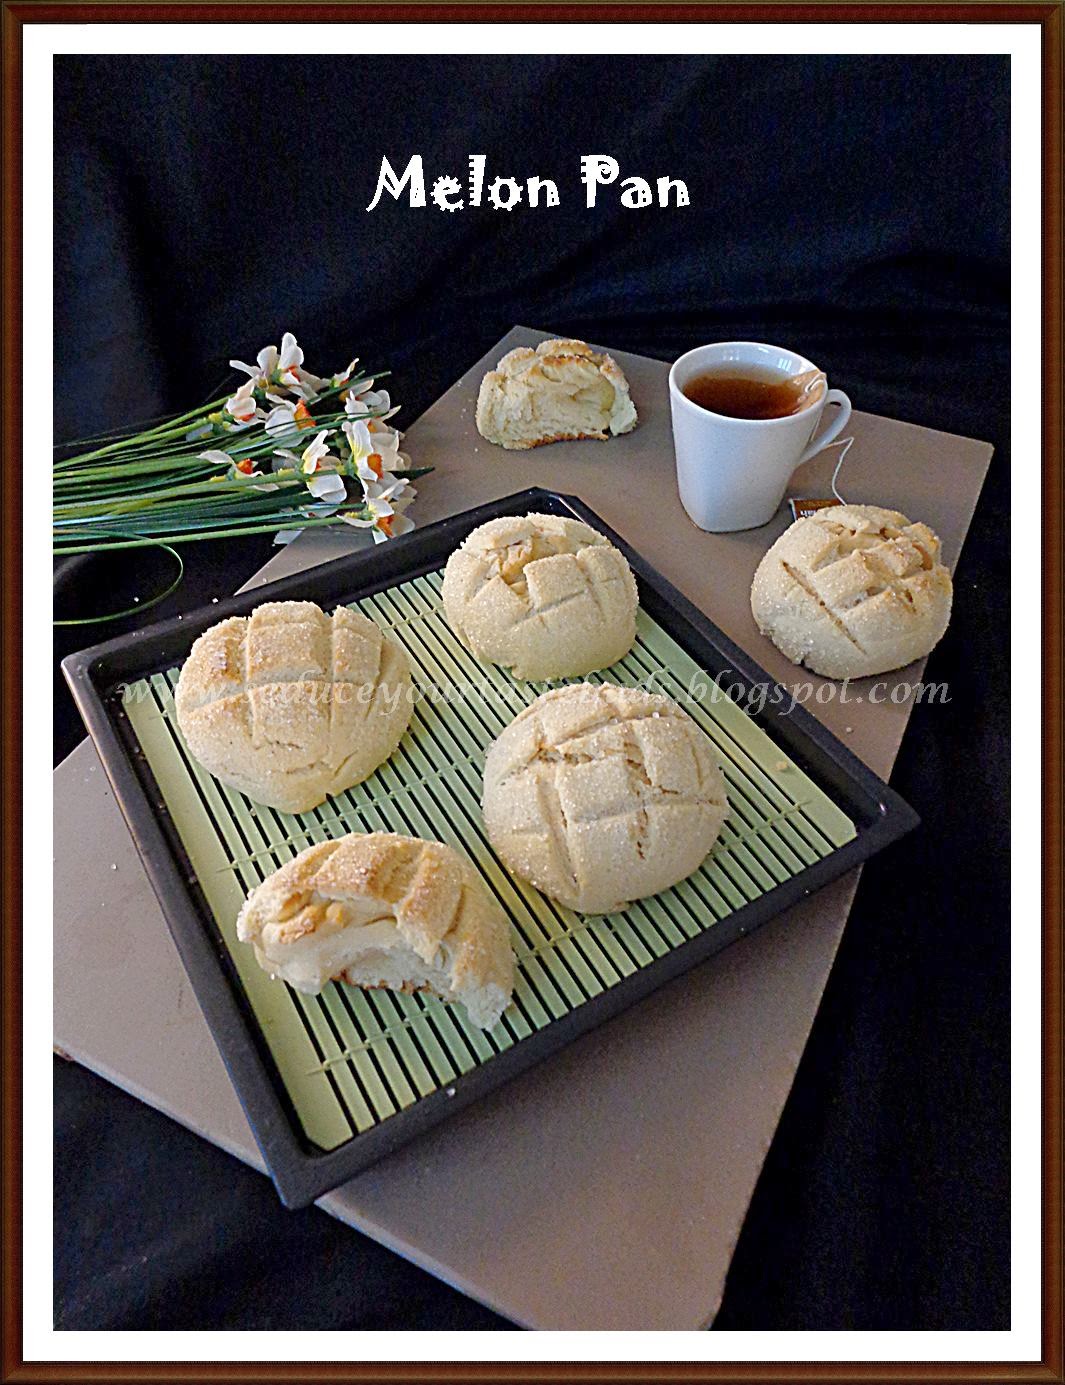
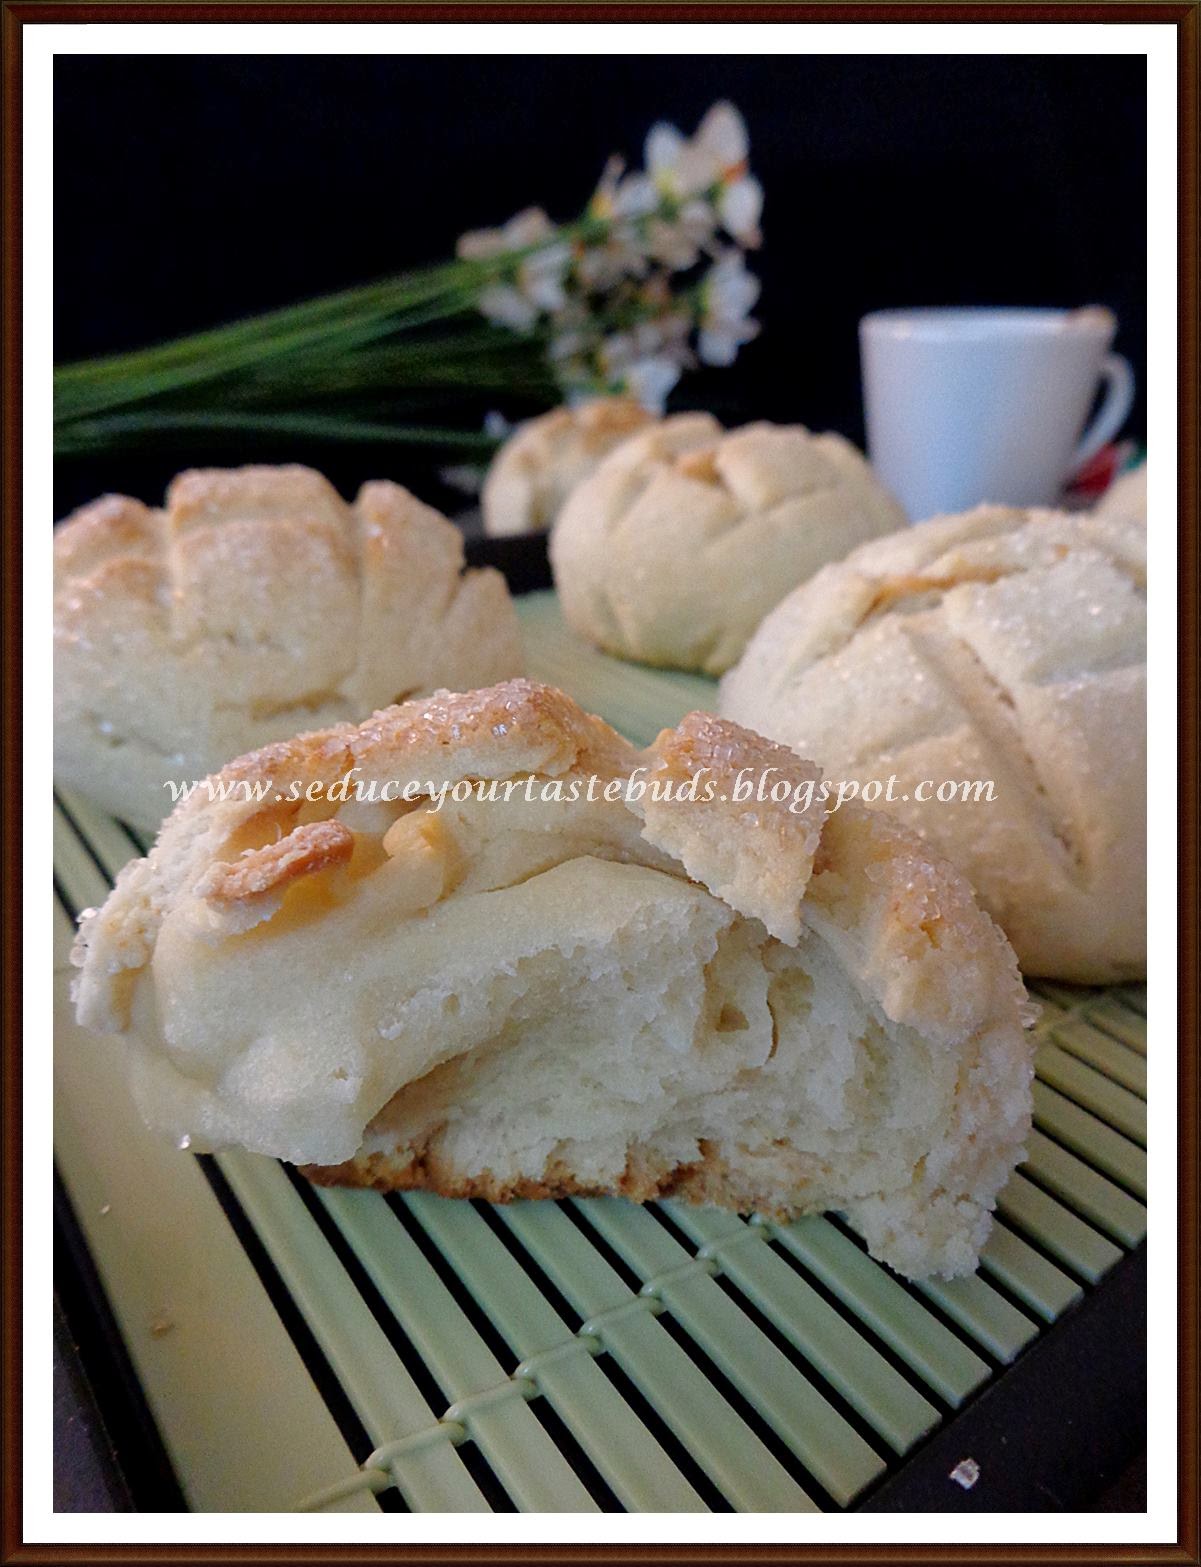
This month’s bread is a Japanese bread they
call “Melon Pan”. This bread is made as buns and is basically a soft , rich and
somewhat sweet bread covered by a layer
of crunchy cookie. Pan is Japanese for bread but there’s definitely no melon of
any sort in this bread.
There are a couple of suggestions as to where
the “Melon” in Melon Pan comes from. The sugar cookie topping is usually scored
in a crosshatch pattern similar to the Japanese presentation of a melon wedge
which is also cut into a crosshatch pattern, and bent backwards for
serving. The other suggestion is that appearance
of the cracked surface of the cookie dough layer resembles a rock melon/
cantaloupe, and hence the name. Apparently, some Japanese bakers also use melon
extract in these buns to add fragrance.
The bread dough for these buns is mostly
left plain, though some people add chocolate chips, while others fill the buns
with cream cheese, custard/ pastry cream or even chopped chocolate. You can go
whichever way you choose, plain or with some filling or flavour. You can also
use your choice of flavouring for the cookie dough like chocolate, green tea,
pineapple, etc if you like.
Melon Pan are best eaten the day they’re
made. This recipe makes 7 burger bun sized (the ones we get in India) Melon
Pan. You can bake a half batch or even make smaller Pan by dividing both dough into 10 or 12 instead of 7.
The original recipe uses eggs. I replaced it with a tablespoon of yogurt.
Melon Pan (Japanese Melon Bread)
I used:
Adapted from - A Bread A Day
For bread dough:
1 3/4 cups all-purpose flour (plus extra as
required)
2 tbsp milk powder
1 tsp instant yeast
1/2 tsp salt
1/3 cup cold water
1 tablespoon fresh yogurt
1 tbsp sugar
25gm butter, at room temperature
For cookie dough:
1 1/3 cups all-purpose flour
3/4 teaspoon baking powder
A large pinch of salt
60gm butter, at room temperature
1/4 cup castor sugar (increase to 1/3 cup
for sweeter dough)
1 tablespoon yogurt
1/2 teaspoon vanilla extract
Granulated sugar for dusting (castor sugar
will do too)
Make sure to watch this video before you make this bread. It really helped me in kneading and shaping the dough...
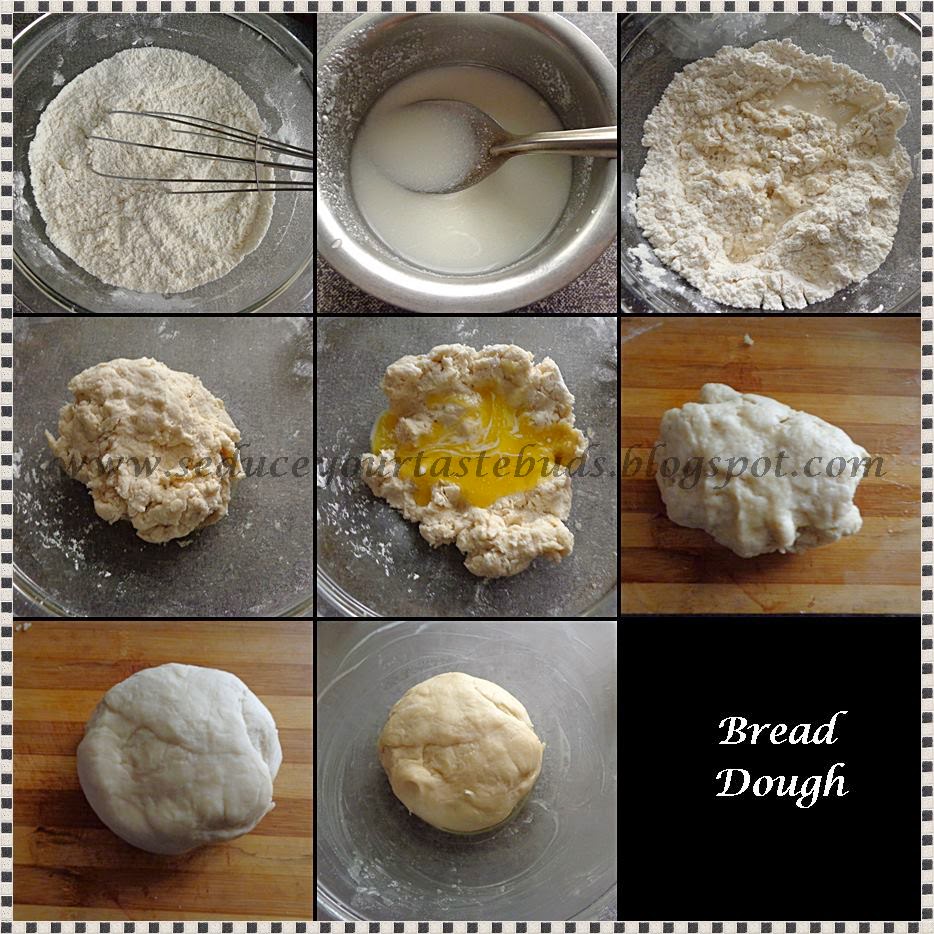
First let us make the bread dough....
Whisk together the flour, powdered milk,
yeast, sugar and salt in the b In a
smaller bowl, beat the egg and cold water together with a fork till well
blended. Add this to the flour mixture in the bowl.
Knead till it
all come together as a dough and then until you have a
somewhat stiff dough.
Now add the butter and knead until the butter is completely incorporated into the
dough and the dough becomes smooth and elastic. The dough should well-kneaded
to develop the gluten.I takes around 15 minutes of kneading to get to this stage.
Shape the dough into a round, and place it
in a lightly oiled bowl. Cover and let it rise till double in volume for about an hour/or so
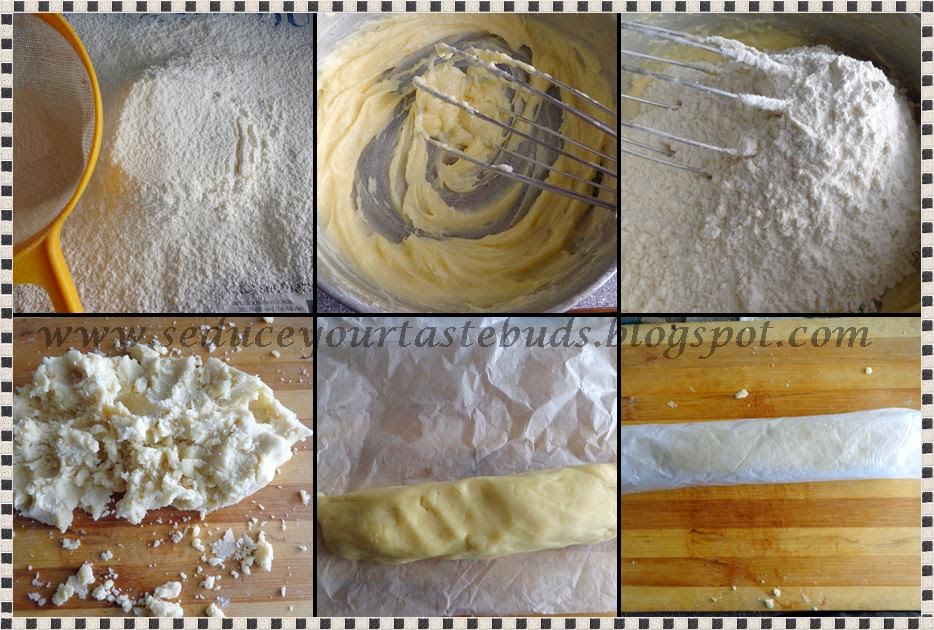
For the cookie dough...
Sift together the flour, baking powder and salt .
In a bowl, cream the soft butter and sugar till fluffy.
Add the yogurt and vanilla extract and beat till combined.
In a bowl, cream the soft butter and sugar till fluffy.
Add the yogurt and vanilla extract and beat till combined.
Add the sifted flour mixture to the bowl. Beat together until just combined.
Now to the shaping and baking the bread...
Once it has doubled in volume, place it on
a lightly floured work surface. Lightly grease your baking sheet or line it
with parchment.
Deflate the dough gently and roll it up like a log and divide it into 7 equal portions.
Shape each portion into a smooth ball like
for bread rolls. Place these balls on a tray dusted with APF.Work with one portion and keep the others covered so they
don’t dry out.
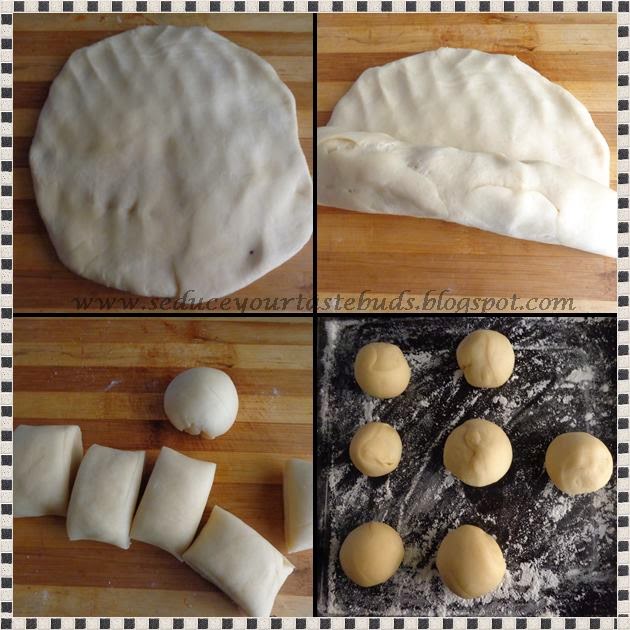
Unwrap the cookie dough. It should be reasonably firm now and easy to work with. Slice the cylinder of cookie dough into 7 equal portions.
Use two pieces of plastic sheets or cling film to flatten the cookie dough. Place one slice/ round of cookie dough on a piece of plastic sheet/ cling film. Cover with another piece, and using a flat bottomed pan, press down on the dough to flatten it, until it is reasonably thin but not very much so.Place these on a tray dusted with APF

Carefully take on ball of bread dough (it will have puffed up a little so don’t deflate it), and place the circle of cookie dough on top of it. Gently press the cookie dough edge to the bread dough ball so that it covers the top and sides of the ball, but leaves the bottom open.
Gently, holding the covered bread dough by the underside, press it into some sugar.
Then using a scraper, or the blunt side of a knife, mark the top of the cookie dough side of the bread roll with a cross hatch/ diamond pattern. The pattern should be deep enough (otherwise it will disappear when the bread rises and bakes) without cutting through the cookie dough layer into the bread.
Place this on the greased or parchment lined baking sheet. Repeat this with the remaining cookie dough and bread dough balls. Let them rise for an hour.
Bake them at 180C (350F) for about 25 minutes, until the tops of the Melon Pan just start turning brown. If you let them brown too much, the underside of the bread will burn.
Transfer to a wire rack to cool thoroughly.

Melon Pan are best eaten the day they are
made. However warming them slightly before serving the next day is also fine.
Note:
I made the incisions slightly deeper.So some 'split' on baking.So be careful when you score the lines on the melon pan.
Bon Appetit...